
Creating an AI chatbot for your website might sound expensive or overly technical, but with today’s tools, you can launch one for free in just minutes—no coding required. Using JotForm AI Agents, you can create a fully functional chatbot to engage visitors, answer FAQs, qualify leads, or even book calls—without writing a single line of code.
Step 1: Sign Up and Choose Your Chatbot Type
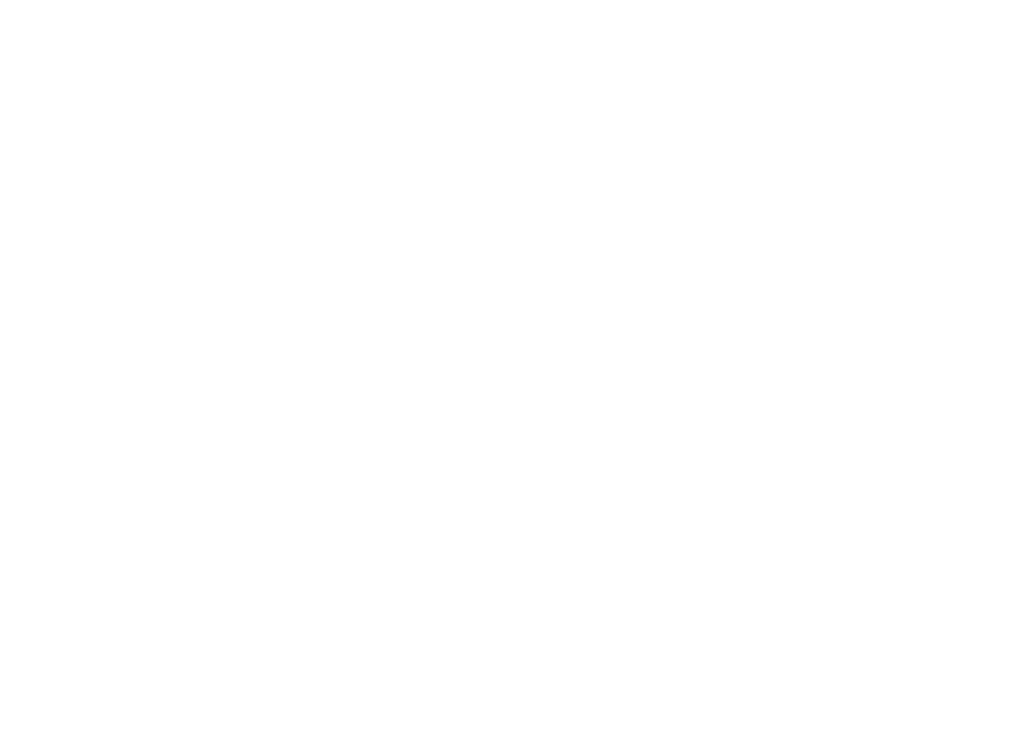
Start by heading to JotForm AI Agents and clicking “Create AI Agent.” You’ll be prompted to select the type of chatbot—standalone, website embed, messenger-based, etc. For simplicity, choose “Standalone” (you can change this later).
Step 2: Use a Template (Highly Recommended)
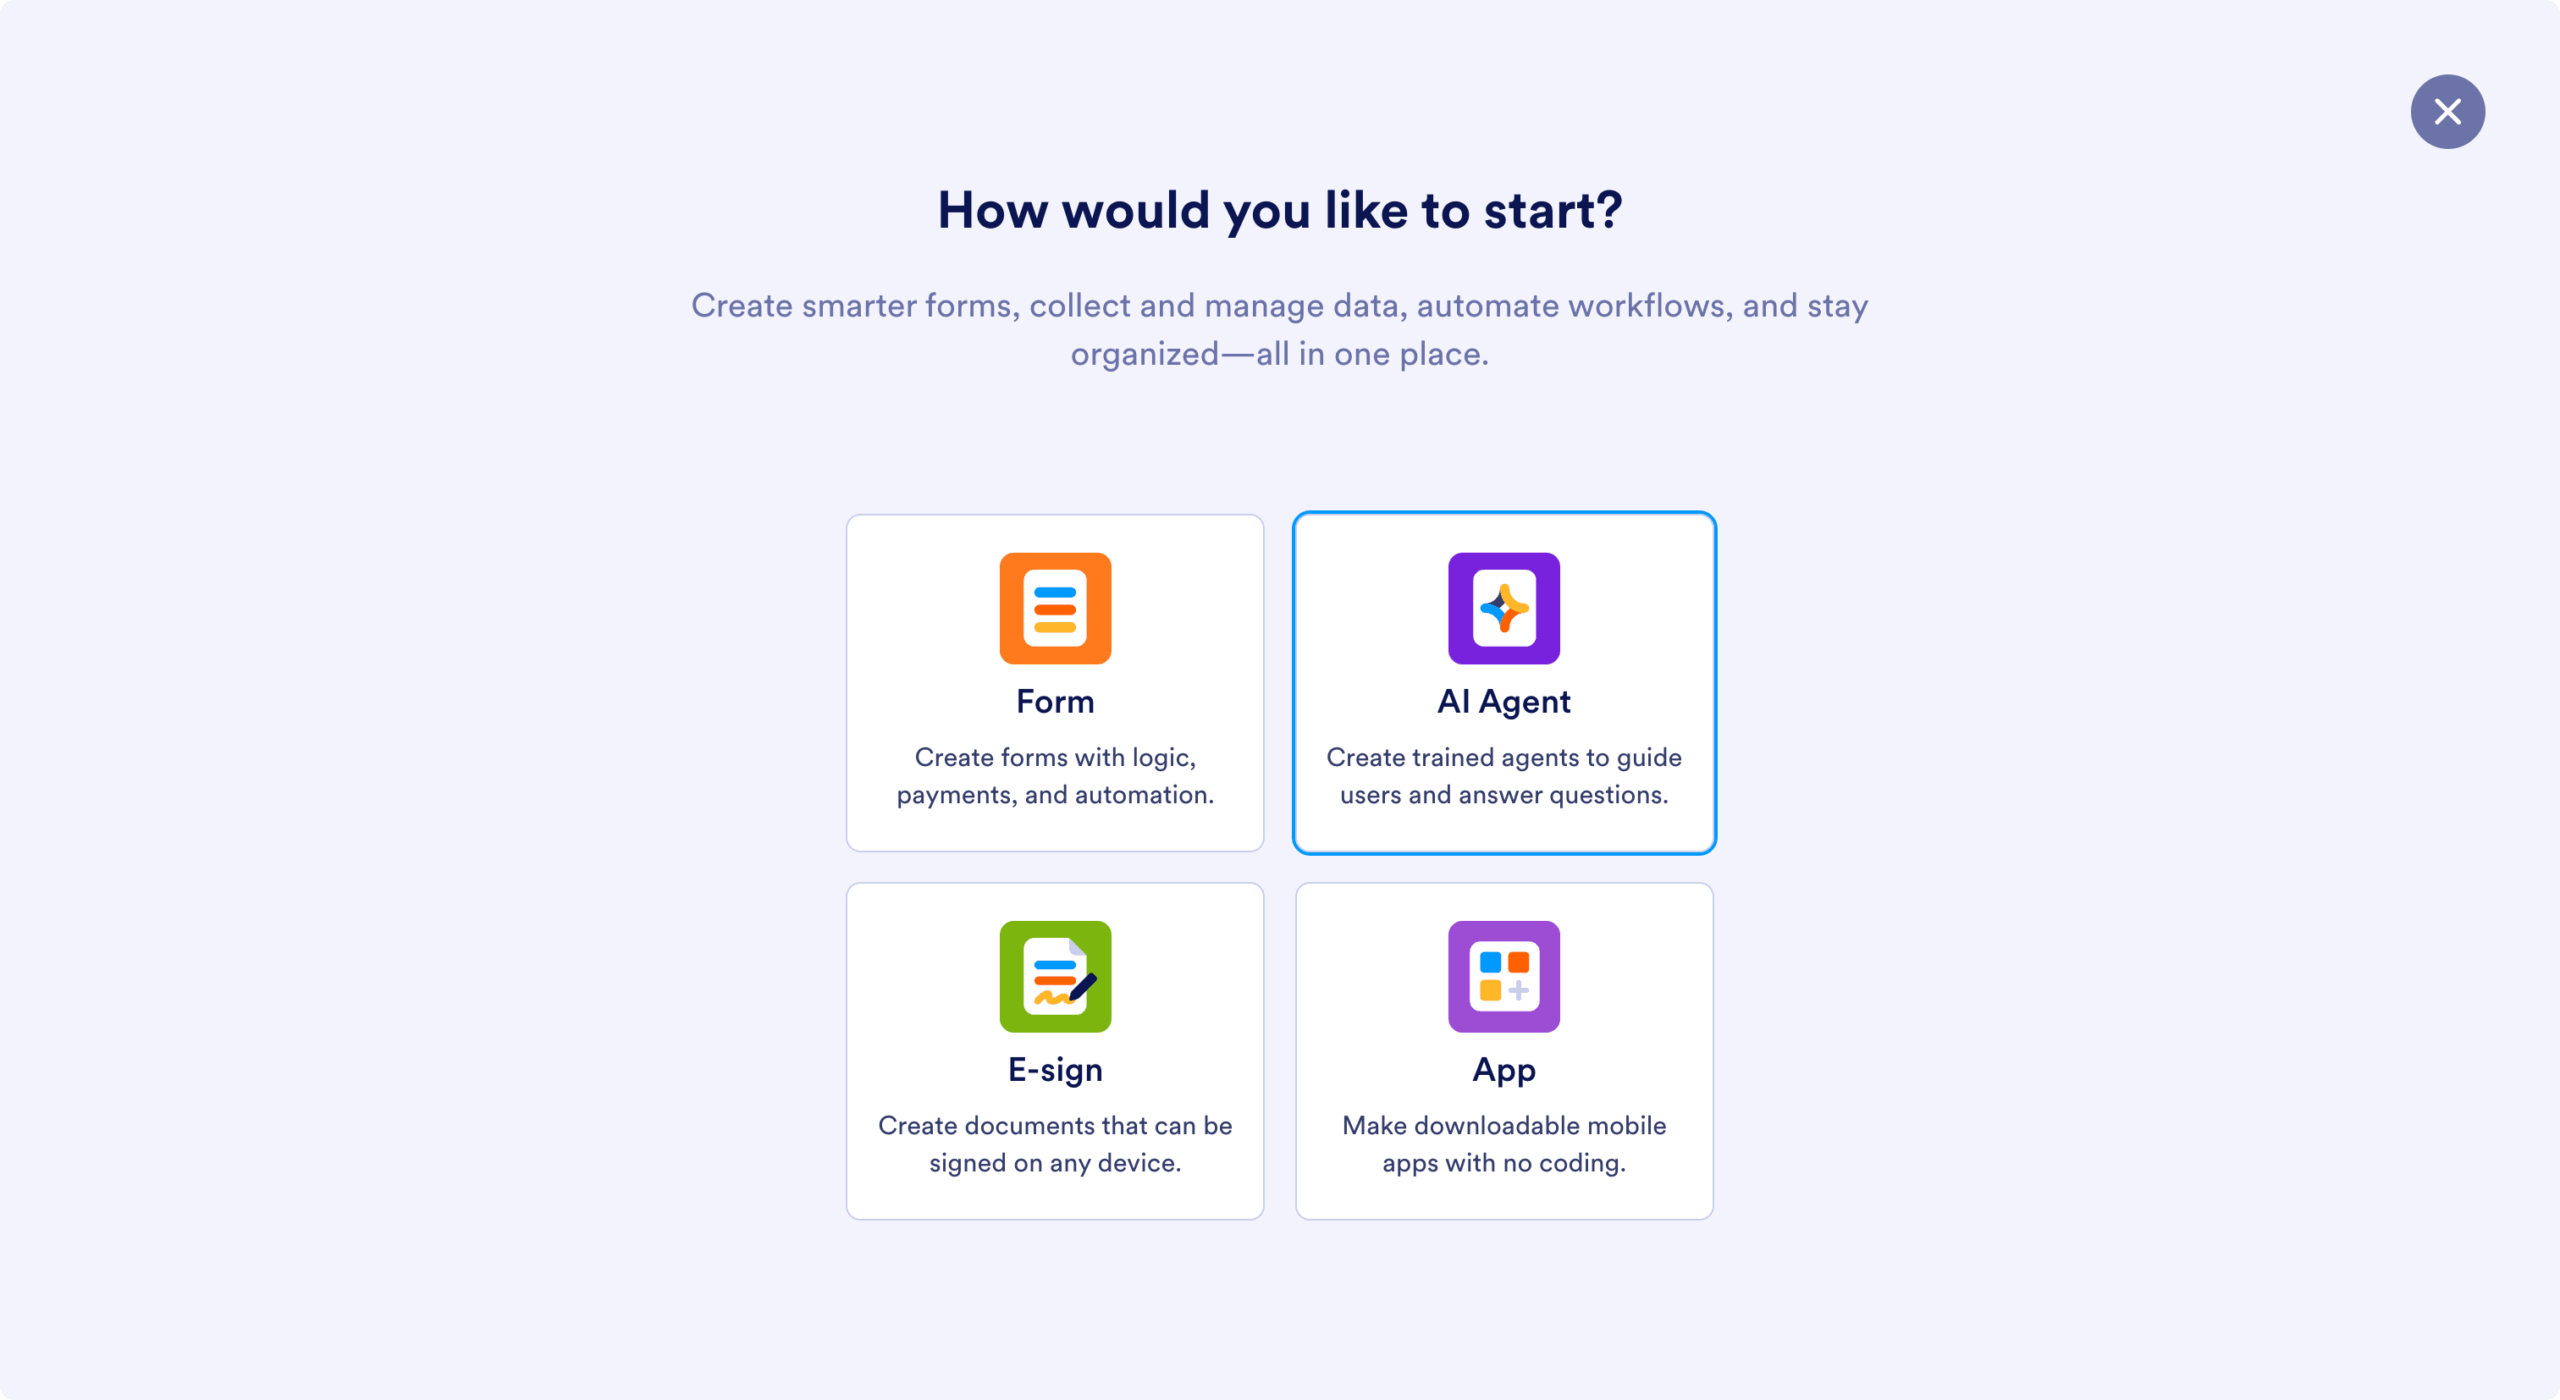
You’ll then have the option to start from scratch or use a prebuilt template. For beginners, templates are ideal—they come pre-loaded with sample questions and response flows tailored to your industry. There are hundreds available: just search your industry or use cases like “real estate,” “coaching,” or “product support” to get started fast.
Step 3: Customise Your Chatbot’s Look and Feel
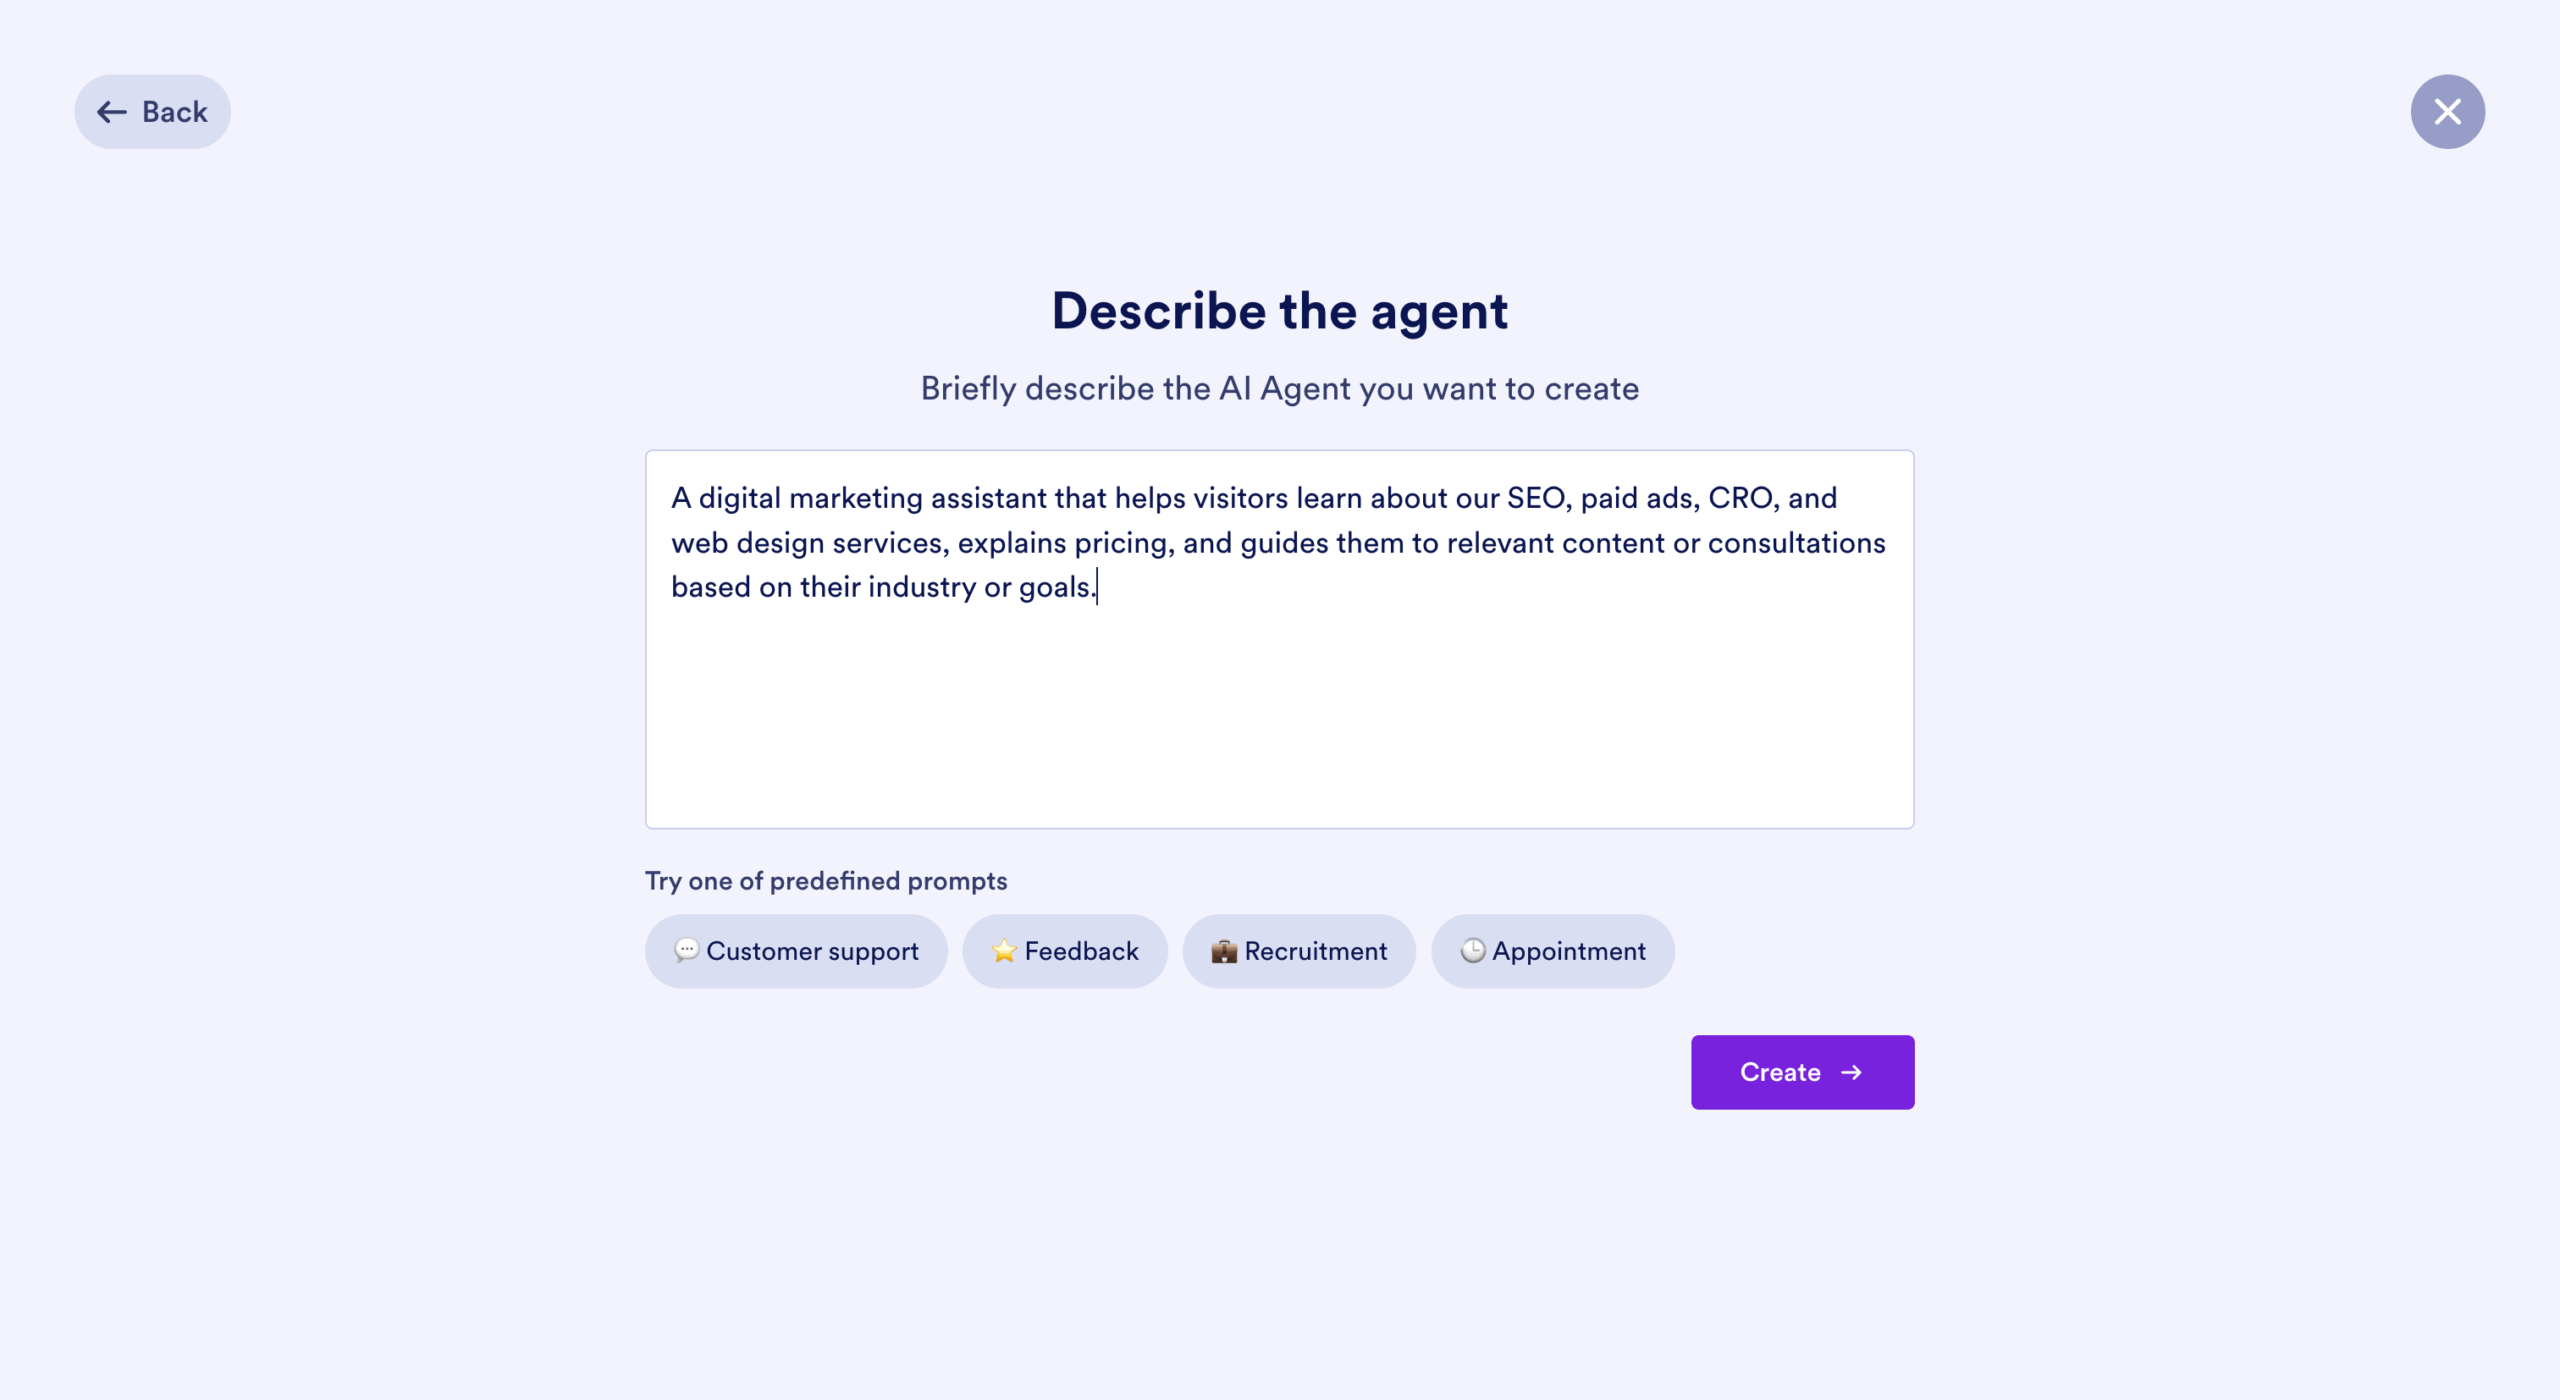
Once inside the editor, you can:
- Upload your logo or image
- Choose or generate a chatbot avatar
- Set a custom welcome message
- Adjust colours and chat tone
These design tweaks help personalise your bot and make it fit seamlessly with your branding.
Step 4: Train Your Chatbot Using a Knowledge Base

The Training tab is the core of your chatbot’s intelligence. Here, you upload or link to the content you want your AI to reference. You can:
- Paste a webpage URL (e.g. your services or pricing page)
- Upload PDFs or text documents
- Manually input answers to common questions
Your chatbot only pulls information from these sources, so it won’t go crawling the web and potentially give inaccurate responses. This keeps your messaging consistent and accurate.
Step 5: Add Smart Actions
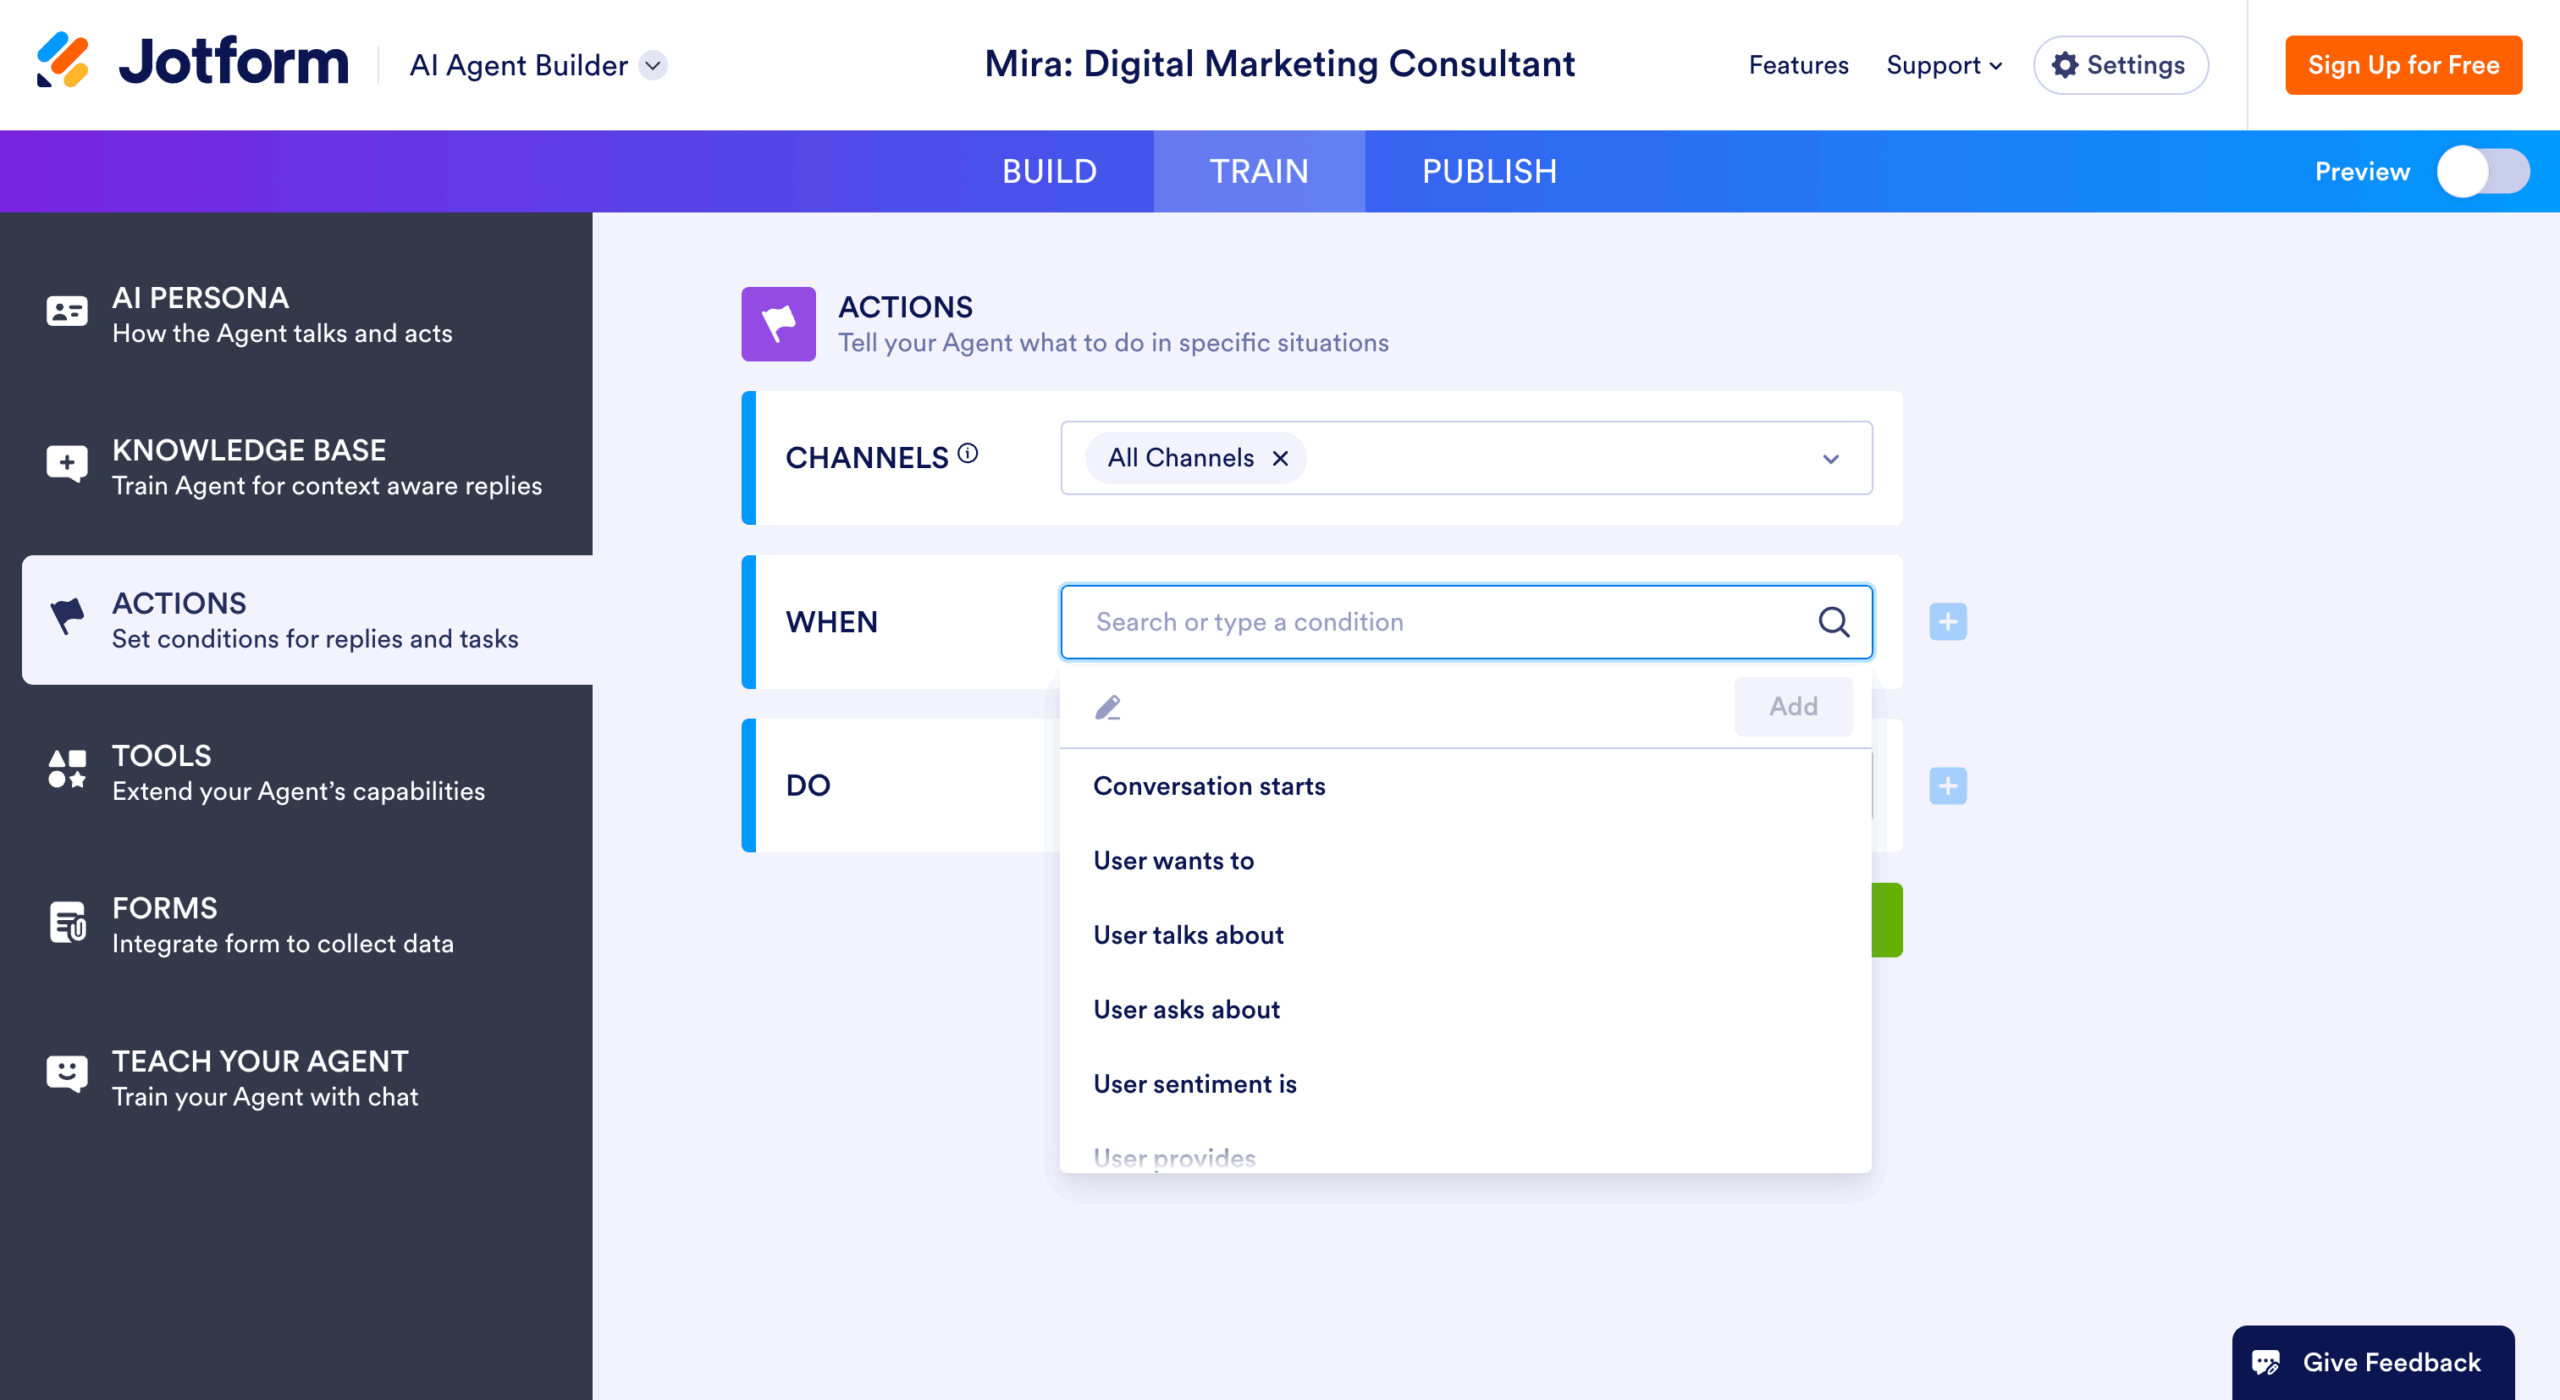
In the Actions tab, you can add functionality like redirect buttons. For example, if someone types “book a call,” your chatbot can display a clickable button that links to your calendar or contact form. This turns your bot into more than just a help tool—it becomes a lead conversion assistant.
Step 6: Fine-Tune Tone and Response Length
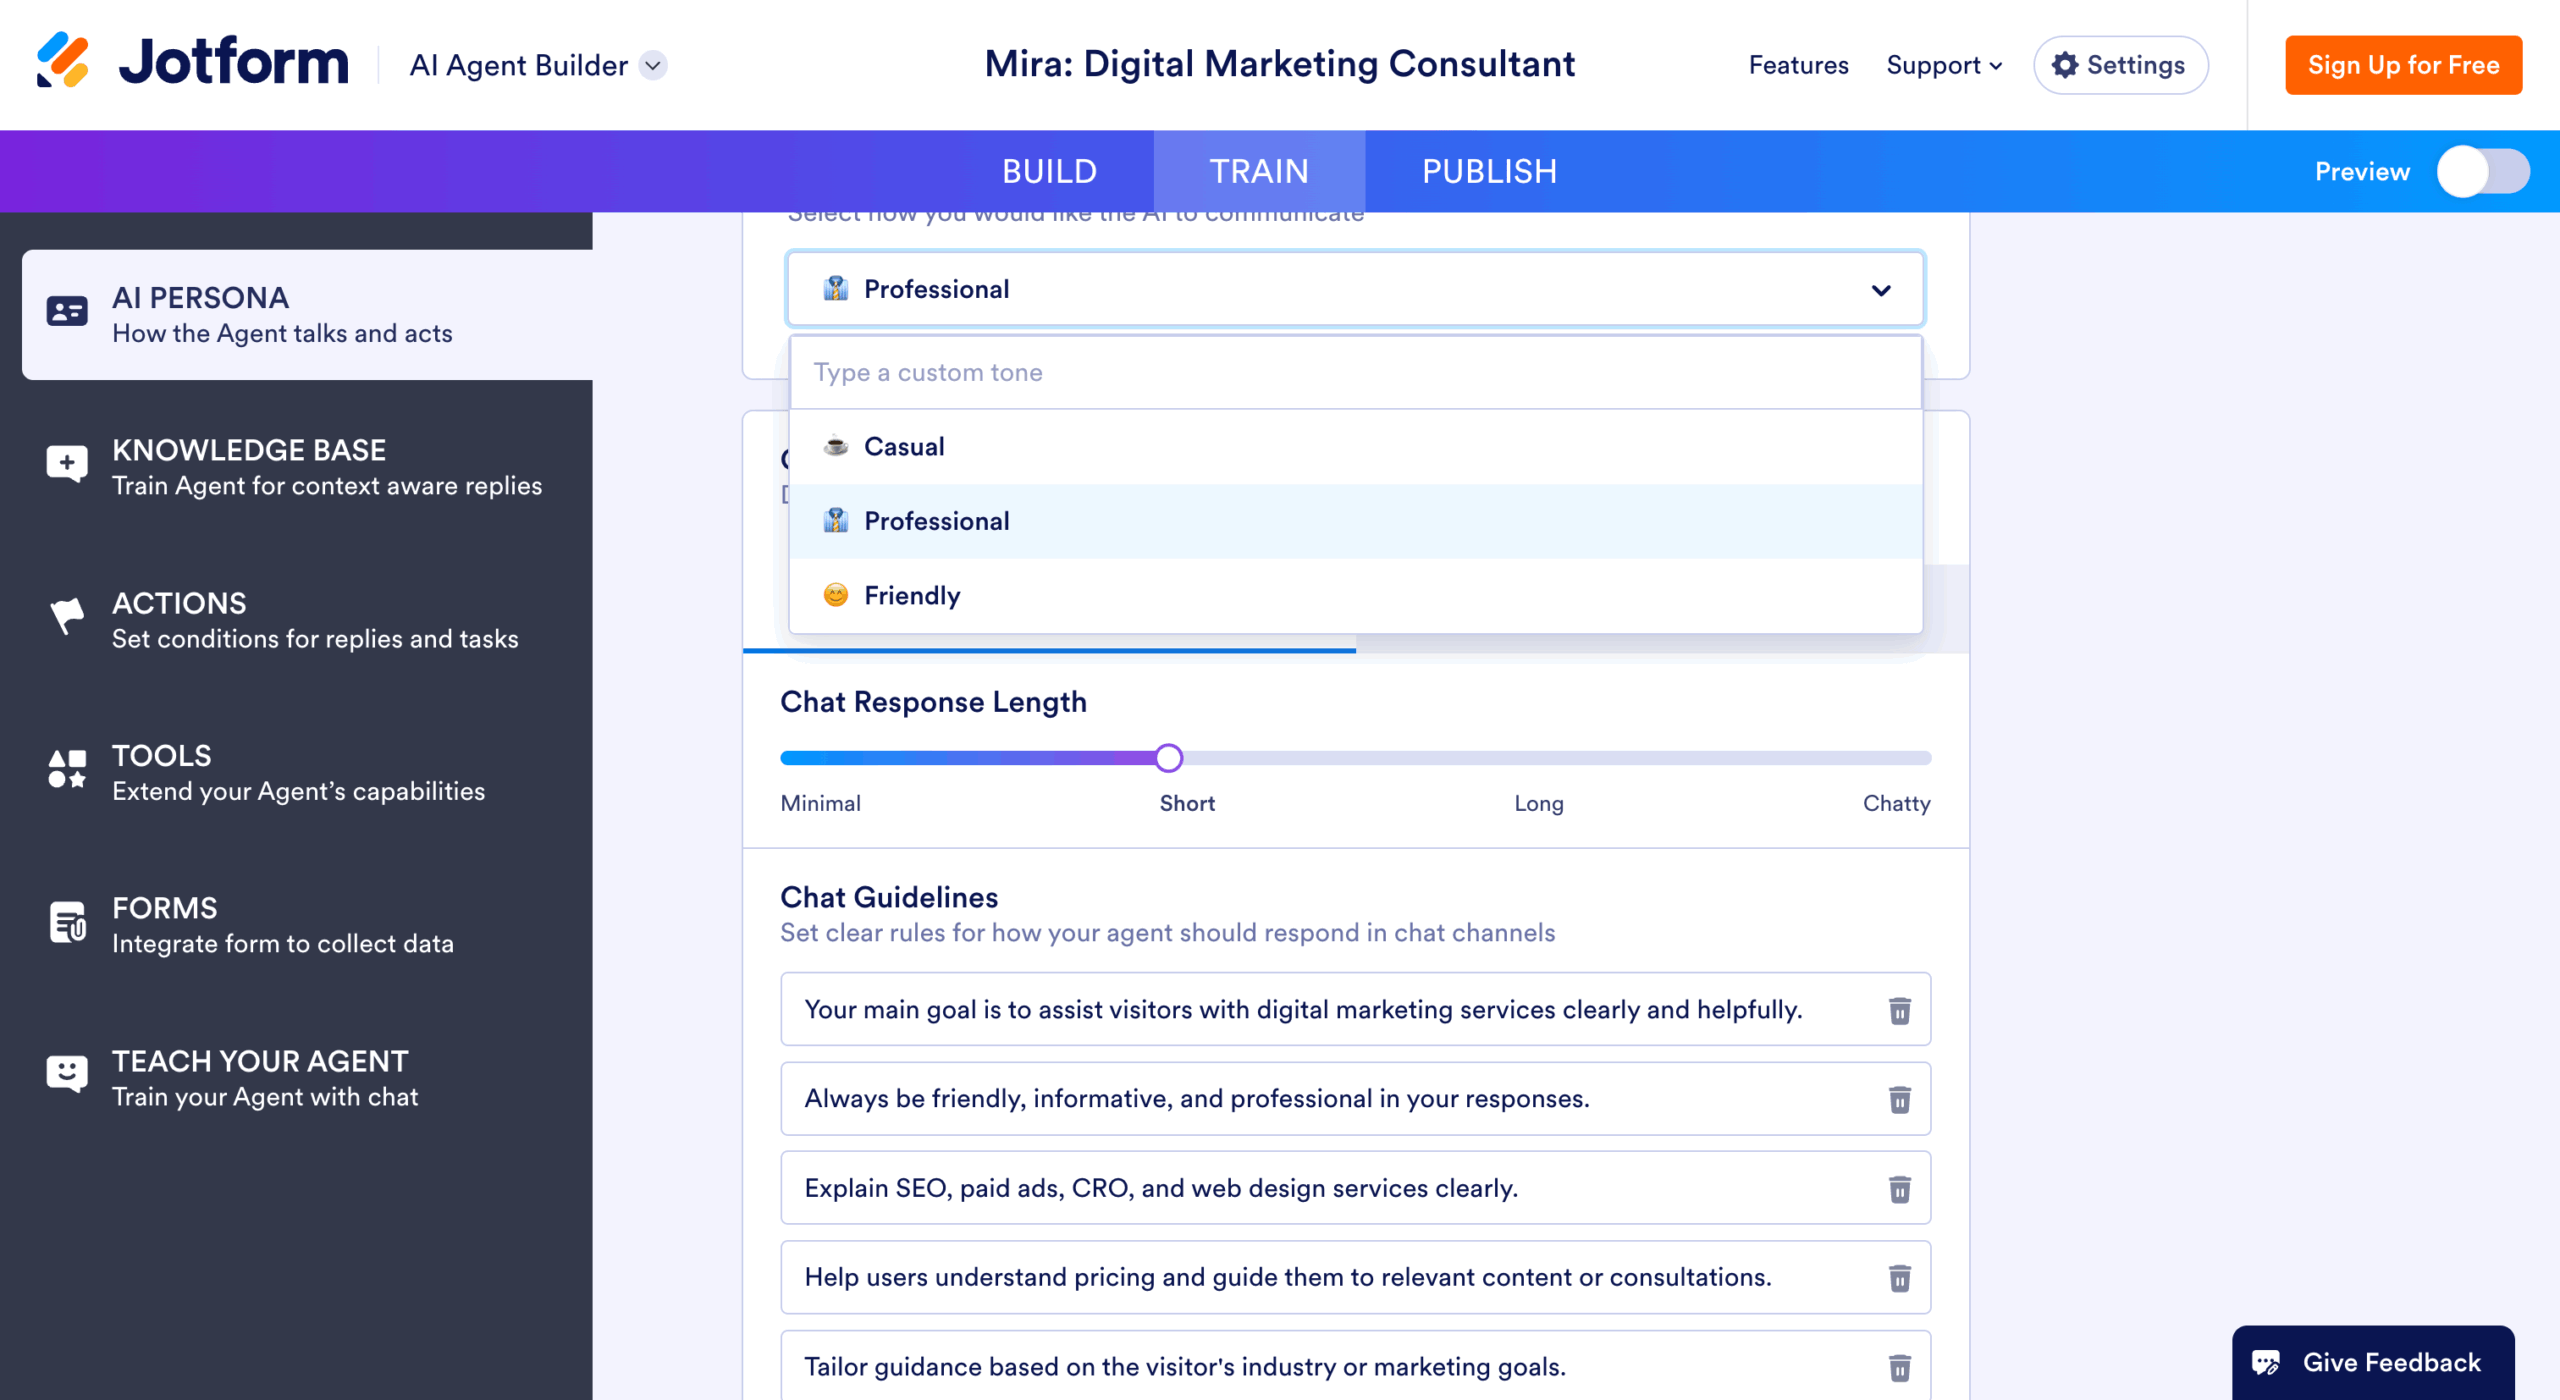
Under the AI Persona tab, you can define the tone (professional, friendly, etc.), set a name for your bot, and even control how long its responses are. This ensures your chatbot sounds like your brand and delivers content the way your users prefer.
Step 7: Publish and Monitor

Once you’re happy, hit Publish. You can:
- Share a direct link to the bot
- Embed it on your website via a simple code snippet
After launching, you’ll also get access to a full conversation history dashboard—see who’s interacting, what questions they’re asking, and how your bot is responding. You can review, rate, and improve answers over time.
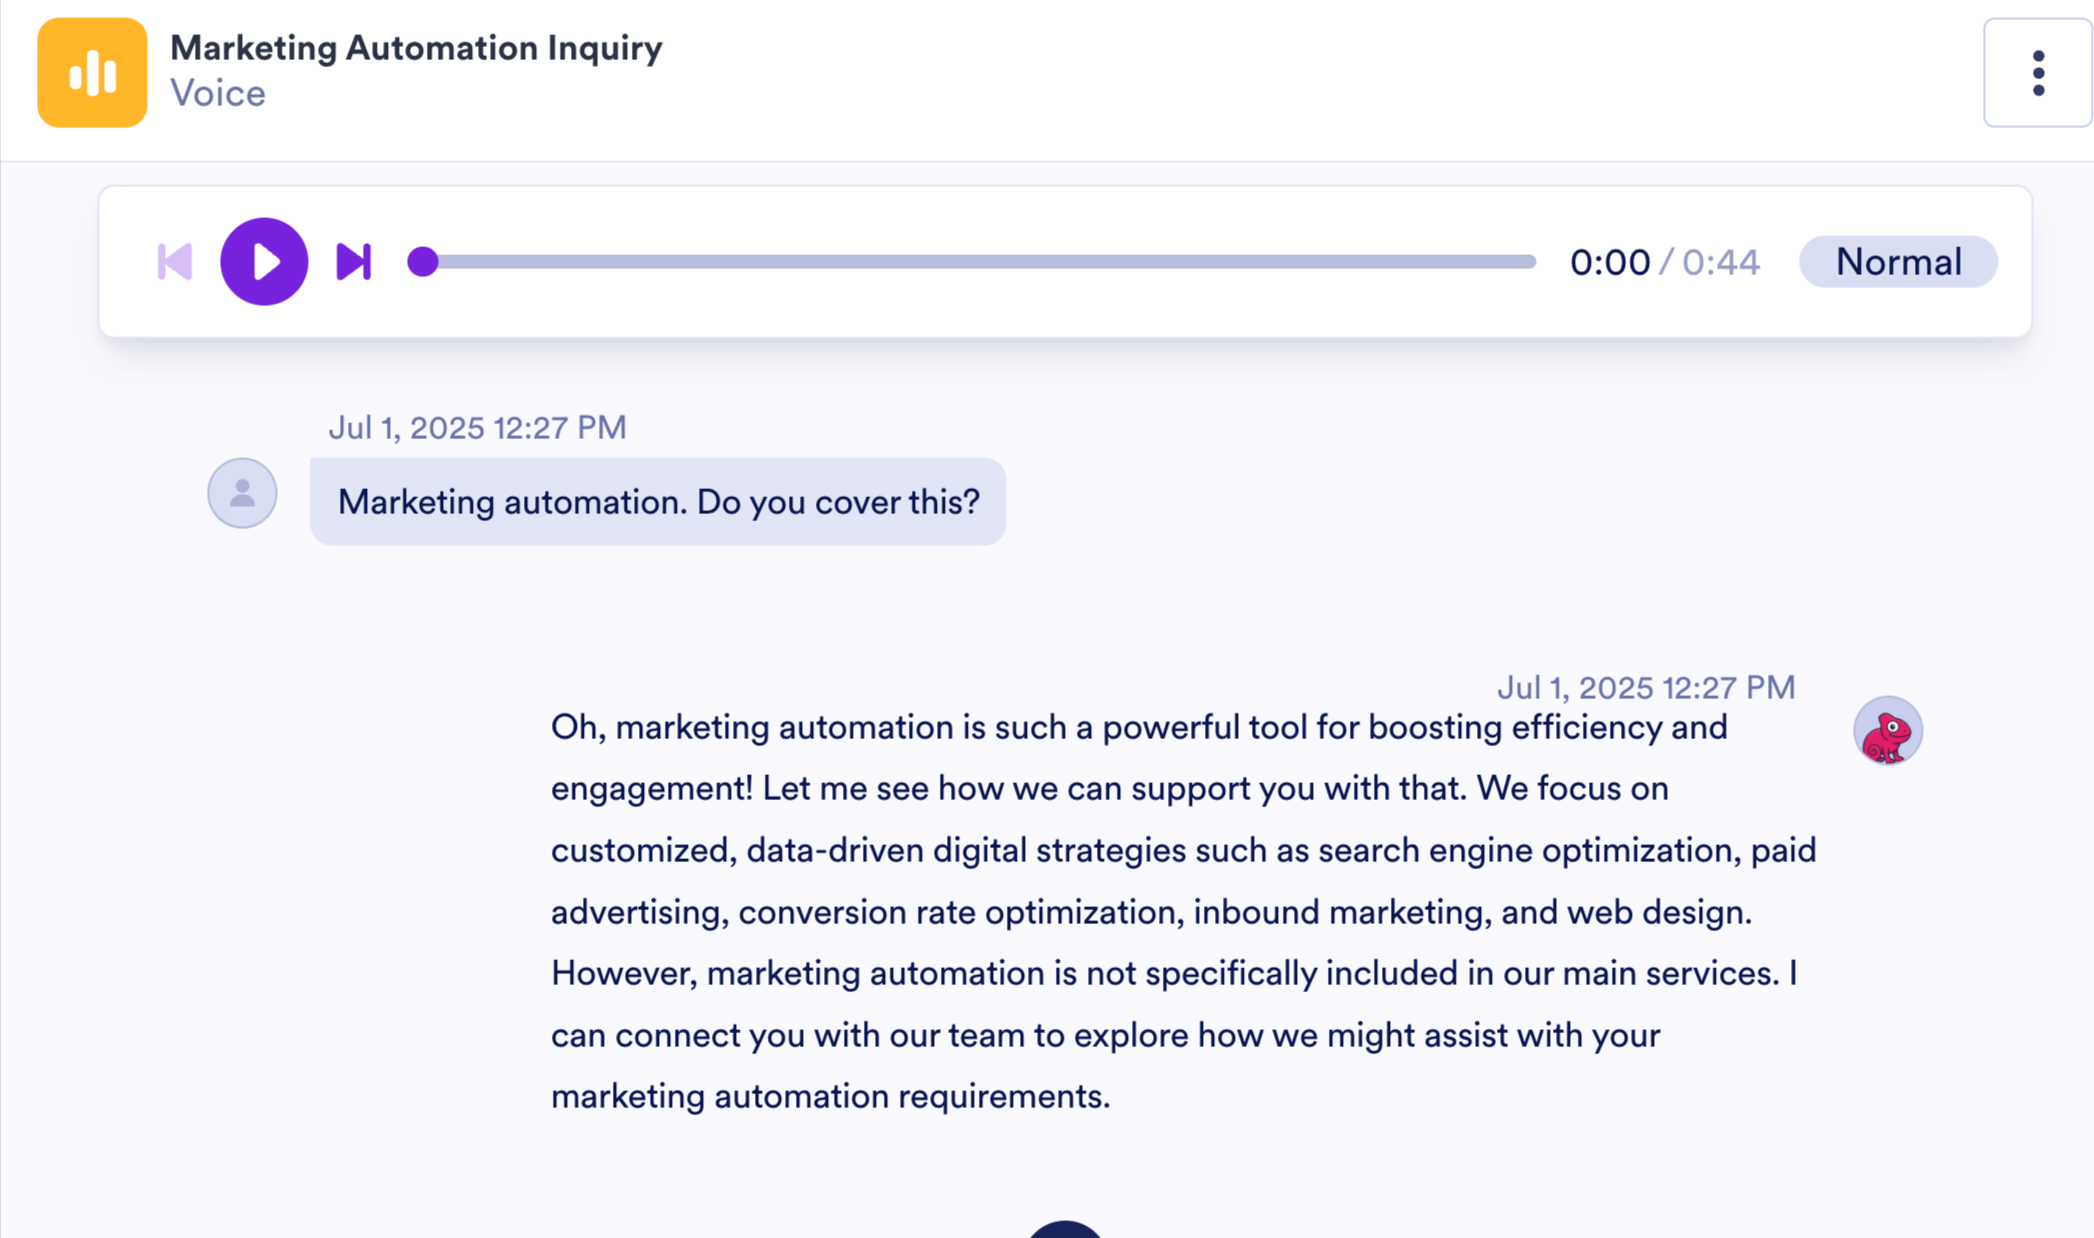
Final Tip: Don’t underestimate the power of reviewing conversations. It reveals what visitors really care about—giving you content ideas and improving your messaging.
Now you’re ready to create your own chatbot that works 24/7—without spending a cent.
